
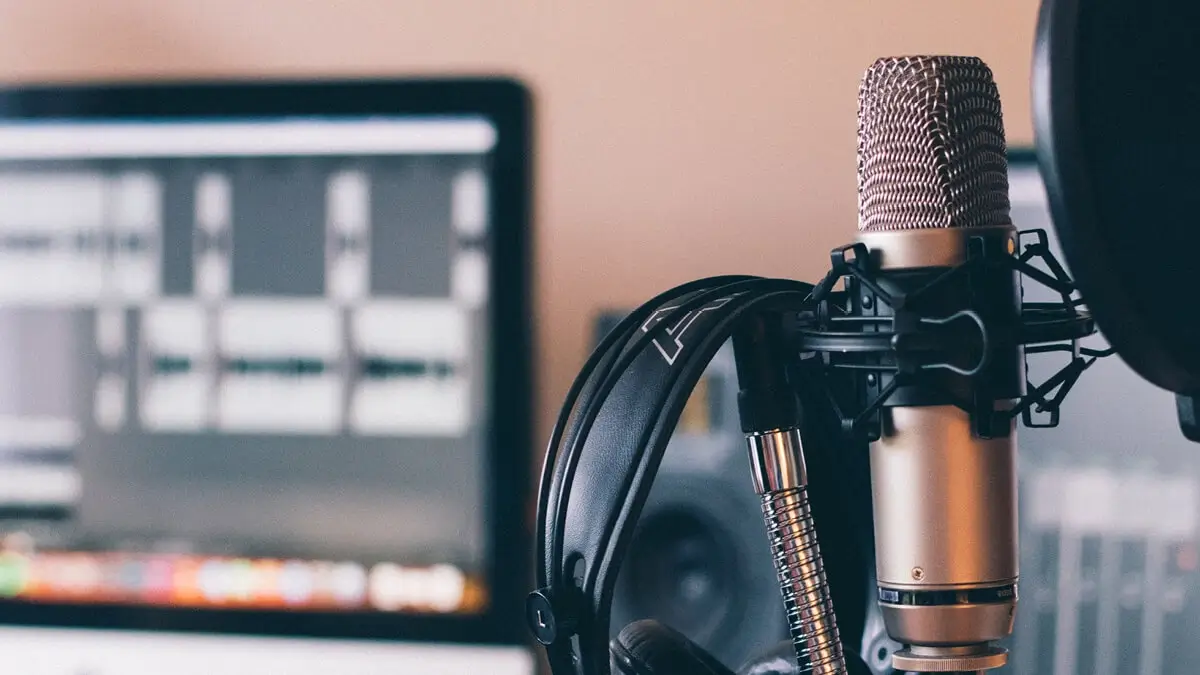

When we’re starting out in voiceover we’re usually doing so on a tiny budget. Totally understandable. But we still need to ensure that the studio we create competes in quality with those who have been doing it for years. This blog takes a look at how to create a great studio on that not-so-great budget.
Choosing the Right Recording Space
So firstly we’ll deal with your recording space. This is the bit of most critical importance, and the bit that most people are more likely to overlook.
Voiceover-ing is the area where the recording space is most demanding. With a lot of music production or broadcast the space needs to be good, but with voice actors it needs to be as perfect as possible as a lot of what you record will be played out over system as a dry voice recording. Every little noise and imperfection in the recording will be heard by maybe millions of people for the duration of its use. Therefore it’s imperative that you find and create as good a space for recording as you can.
How to Find a Truly Quiet Recording Space
Step one is to find a space where we can set up our equipment. You need somewhere quiet. This may sound obvious, but it’s not quite as straightforward as it sounds. Why? Because our brains work against us. From time to time I get asked to go out and do some location recordings, and I’ve requested a quiet room from whoever I’m going to record. Unfortunately what most people interpret as “a quiet room” simply means “somewhere we won’t be disturbed”, and these out-of-the-way places are discovered to be quite noisy when it’s too late! The issue is that our brains are really good at ignoring those sounds we don’t need to hear, so this “quiet” space is actually right next to a busy road, or it’s in a big empty reverberant room.
For recording we need somewhere that’s actually silent.
We can soundproof a space, but if we can find somewhere that’s quiet to begin with it will make the soundproofing process a lot less painful for our wallets.
How Do You Tell If a Space Is Quiet?
I have two ways.
- If you have your recording equipment already, simply set it up and leave it recording for an hour or so and then listen back to it. Our brains interpret recorded sounds differently, so we get a more accurate assessment of how noisy a space is if we listen to a recording.
- Or secondly you can sit in the room for a while with your eyes closed. Keep them closed and have a good listen.
Comfort: Why Your Studio Environment Matters
I wrote about comfort a while ago, but it’s definitely worth mentioning again. Our studios are a creative place, and if we’re not comfortable in there then our creativity is stifled. So think carefully about your space. Are you going to cope if you have no natural light? Does it have enough room for you to move as you read? Can you stand up comfortably in there? These may seem like little things, but you’re aiming to spend many hours a day in that space, and that’s when little things become big things.
And the other thing to bear in mind when planning your space is how it’s going to impact on your day to day life and the lives of the people you share your living space with when it’s not in use. This also has bearings on the next point.
Achieving Consistent Audio Quality Every Time You Record
The need for good quality audio is a given, but so should be the need for consistently good quality audio. If your audio differs wildly in quality it may as well be consistently bad, as your clients are going to stop calling, or start asking you to redo audio that doesn’t meet their standards.
Inconsistent quality also suggests a level of either carelessness or technical inability, neither of which is good for your professional reputation.
All good so far? Let’s muddy the waters.
Sound works in ratios and proportions, and that especially affects the performance of small booths. For example, if you have a studio that’s 5m x 6m and you move your microphone 25cm to the left, that’s a 1/20th of the width and the chances are that’s not going to have a noticeable effect on your audio. But, if your booth is 1m x 1.5m that same 25cm move is 1/4 of the width and it could totally change the tone of your recordings. If your booth is really small even something as innocuous as wearing a thicker jumper in winter can have an effect on your recordings.
Over the years I’ve visited many voice artists in bedsits and similar. I’ve come across many who need to construct and disassemble their booths every time they need to record. And whereas I realise that may be unavoidable if you find yourself in this situation, you need to ensure as much as you possibly can that your putting together of your setup is as close to identical as you can possibly make it every time you recreate your recording space. Slightly different shapes and slightly different gaps don’t make for recording consistency.
A permanent set up is always going to yield a more consistent result. But even if you have a permanent set up, you shouldn’t rest on your laurels regarding quality.
Acoustic Treatment and Soundproofing on a Budget
The next thing we’re thinking about is the big one. It doesn’t matter what your home studio looks like, or how long it takes you to put it together, if the sound isn’t good you’ll seriously limit the amount of jobs you get offered.
Firstly regarding soundproofing, you need to minimise the sound ingress as much as you possibly can (see above). And if you can’t manage that entirely you may be able to work around the noisy times of day if they’re predictable. But be honest with yourself about that approach, your clients will hear noise even if you’re trying to pretend it’s not there.
With the room acoustics you’re trying to create a good clean sound with no reverberation, but it also needs a neutral tone. This is particularly difficult in small rooms. Small rooms exhibit odd acoustic properties and more often than not they sound “boxy”. Overcoming that boxiness can take some doing.
Wander around your house talking to yourself (you may want to wait until everyone else is out!) and listen to the room you’re in as you walk through it. You’ll hear the difference between your kitchen, bathroom and living room. Now continue and go into the cupboard under the stairs or walk-in wardrobe and you’ll hear a different change. Go outside (you may want to wait until the neighbours are all out too!) and hear what your voice sounds like with probably the least amount of reverberation of all the places you’ve just been. Even better if you can record yourself on your phone as you walk around and then listen back to the recording.
When you’re voicing you don’t want your recordings to give away what room you were in when you recorded. This is the point of the acoustic treatment. The cheapest/easiest way to sort your acoustic treatment is to create yourself a sectioned off area of a room where you’re surrounded by duvets/sleeping bags/heavy blankets. This will give you an immediate dry booth, but there is still the possibility of recording reverb from the rest of the room, so adding soft furnishings into the wider room will help dry those out. An alternative plan is to use a cupboard under the stairs/walk-in wardrobe. This will give you a greater degree of soundproofing (depending on the door), but small rooms can exhibit undesirable acoustic properties that may take a fair bit of tweaking to get rid of. Here again a trained set of ears will help you tweak and tune the treatment to get that neutral tone you need. This can be upgraded as and when you have the need and the budget, but with careful planning this setup can get you off the blocks.
Essential Voiceover Studio Equipment You Actually Need
Now we get onto the studio hardware. You don’t need much. I’m going to assume you already have a computer of some sort. Mac or PC will do fine. You’ll need to get your hands on a mic, mic lead, mic stand, pop screen, audio interface, headphones and software.
Just a quick note here. Every person you ask about these things will give you different recommendations. Some will be better than others! What I’m considering here is the low budget. I’m going to recommend 2 mics. The reason I’m recommending these is firstly because they are good broadcast quality mics at a good price, and secondly because they’re not too sensitive. A top-end mic such as you’ll find in a professional production house studio will be really sensitive and will show up every imperfection in the room it’s in, so you probably don’t want that. You need a good mic that will be more forgiving of your booth, that will miss the reflections coming from the other side of the room, that won’t pick up the boiler when it clicks on. So here we go, 2 mics for your consideration.
Best Budget Microphones for Voiceover Recording
The Rode NT1 is a great mic. It’s one of the quietest self-noise mics on the market, making it technically excellent. If you buy the pack it comes with mic lead, pop screen and shock mount.
The second mic to consider would be an SE2200. This is a great alternative to the NT1 and has a built-in high pass filter to help lower your noise floor (another blog here if you want to know more about noise floors) – potentially a very good idea if your booth is lacking a bit of soundproofing. It also comes with a shockmount and pop screen.
There are plenty of other options on the market, so if you want to consider something else then feel free. Get in touch if you want to discuss further options.
Choosing an Affordable Audio Interface
The Focusrite Scarlett 2i2 is an excellent interface. Focusrite also do a Focusrite Solo which only has 1 mic port on it. I’d normally recommend the 2i2 as it gives you a bit more futureproofing for not a lot extra money. The latest Scarlett Solos also have the mic input as input 2, which is annoying and slightly less easy to work with, so I’d always go with a 2i2 over a Solo. Even for the budget conscious.
As an alternative to Focusrite you could consider Audient or SSL.
Audient’s iD4, iD14 and iD22 interfaces are basically the same interface with added features as you go up the range. The SSL2 is virtually the same price as an Audient iD14, but a bit simpler to use.
Mic Stands: What to Look For
The mic stand you get is going to depend on whether you want to stand or sit to voice, and whether you’ll have a desk/shelf in the booth with you. But most shops have plenty of options available. Cheaper stands tend to have joints that aren’t as hardwearing, but if you’re going to set the stand up and leave it up that’s not a major factor.
Pop Screens: Getting the Right Fit
Your pop screen needs to be a bigger circumference one as you’ll be closer to the mic than singers would be. Again plenty of options on the market, I’d just avoid the foam filter version as I don’t think it’s good for voiceover.
Headphones: Why Closed-Back Matters
Headphones need to be closed back to help prevent sound leakage getting into the mic. They need to be comfortable if you’re going to wear them for a long time. Be aware that studio headphones do a different job to your commuting/hifi headphones. So although you can use your regular headphones at a pinch, you won’t get the best results from them.
Again there are many brands on the market, but the ones that get recommended time and time again are the Beyerdynamic DT770 Pros. Just be aware of the Ohm rating when you buy. The lower the number the louder the headphones, and if you’re getting a Focusrite interface the headphone output isn’t the loudest.
Free and Low-Cost Recording Software Options
Finally is the software. If your budget is small and your needs minimal you can’t go too far wrong with Ocenaudio. It’s free and perfectly capable of recording and editing voiceovers. It has a few features to speed up your workflow, but not as many as a premium editor/DAW.
If you do have some spare cash then consider Twisted Wave. If you have some cash and need multi-track capability then Reaper or Fender Studio Pro are good options.
Free trials of all of these are available, so you can try them out to see if you get on with them before you spend any money.
Testing Your Home Studio Before You Go Live
Once everything is assembled I can take some time with you listening to audio samples from your studio to make sure that it’s capable of professional quality audio. I can also help you get the hang of whichever software you’ve chosen to use.
So there we have it. You’re a studio owner!
Everything on this list is upgradeable as and when you have the budget and the need.
“Rob was a Godsend! I’d been trying to finish a home studio set up and the source of an annoying hum for months. Rob fixed a couple of issues remotely and fixed a more complex issue in person. And helped me pick out a new, much better mic. If you’re having any studio problems, call Rob. Now”
Karl Brown, Voiceover, 5 star Google Review
Ready to Put Your Studio to the Test?
Building the studio is only half the job – knowing it actually delivers professional, broadcast-ready audio is what gets you booked again and again. Here’s how I can help next:
Get your home studio sample tested – Get in touch and I’ll listen to a sample from your set-up and tell you exactly how it’s performing and where, if anywhere, it needs work. £50* (*price correct August 2026).
Coming soon: Home Studio Accreditation (free for Be Seen Be Heard members) – Be confident that your studio is performing at its best, and give reassurance to potential job hirers that the quality of audio you’ll deliver meets their needs. COMING SOON. An industry first: a studio accreditation process with a badge for your website that tells the world your studio meets a professional standard. Watch this space.
Get ongoing studio support – Regular studio support and more is included in our membership, Be Seen Be Heard.
If you have any questions or need further assistance then contact me and I’ll get back to you as soon as I can. We can then start addressing your specific needs.
Cover photo by Will Francis on Unsplash